Crocheting your first sweater can feel like a big project, but it becomes much easier when you break it into small steps. You do not need to be an expert crocheter to make a sweater. If you already know basic stitches such as chain, single crochet, half double crochet, double crochet, and slip stitch, you can start learning how to crochet a simple sweater.
A handmade crochet sweater can also be customized to your preferred color, size, length, and style. The key is choosing a beginner-friendly pattern, taking accurate measurements, and checking your gauge before you begin.
In this guide, you will learn how to crochet your first sweater step by step, from choosing yarn and taking measurements to joining the pieces and finishing your sweater.
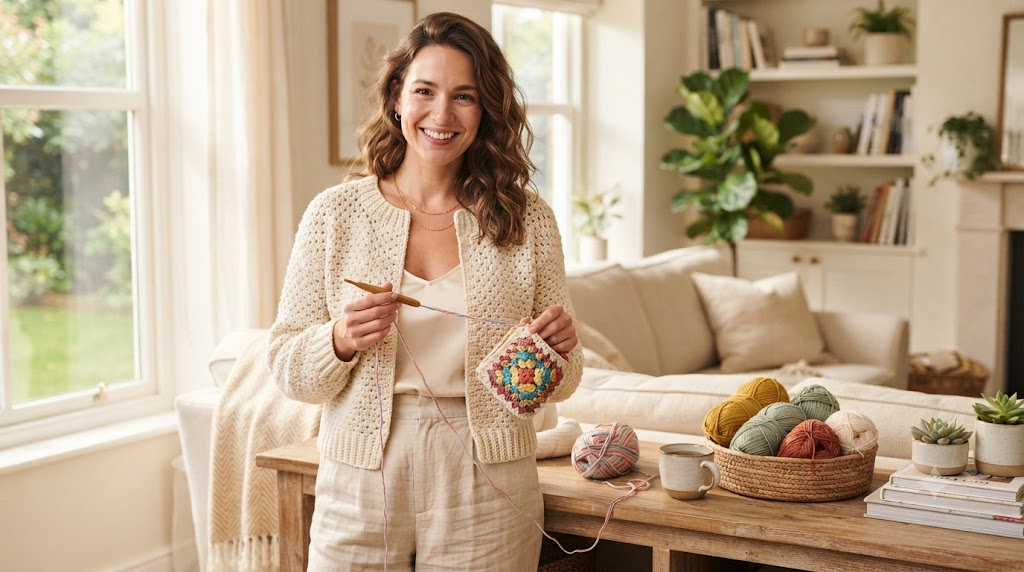
What You Need to Crochet a Sweater
Before starting, gather all your supplies.
| Material | Beginner Recommendation |
|---|---|
| Yarn | Medium-weight or worsted yarn |
| Crochet Hook | Usually 5 mm–6 mm |
| Yarn Needle | For sewing and weaving ends |
| Scissors | Sharp craft scissors |
| Stitch Markers | Helpful for keeping track |
| Measuring Tape | Essential for sizing |
| Crochet Pattern | Beginner-friendly sweater pattern |
Always check the pattern before buying yarn because the recommended yarn weight and hook size can vary.
For a first sweater, avoid very thin yarn or complicated textured yarn. Smooth, medium-weight yarn makes your stitches easier to see and count.
Step 1: Choose a Beginner-Friendly Sweater Pattern
The pattern you choose can make your first sweater easy or difficult.
For your first project, look for a sweater pattern with:
- Simple stitches
- Minimal shaping
- Clear instructions
- Basic construction
- Easy-to-understand sizing
- A detailed gauge recommendation
A simple front-and-back panel sweater can be easier for beginners than a highly fitted sweater with complicated shaping.
Do not choose a pattern simply because the finished sweater looks beautiful. Make sure you understand the construction and have the skills required to complete it.
Step 2: Take Your Measurements
Before crocheting, measure yourself carefully.
Important measurements include:
- Chest or bust
- Waist
- Shoulder width
- Sweater length
- Arm length
- Upper arm circumference
- Wrist circumference
Wear a comfortable, fitted shirt while measuring.
Write your measurements down so you can compare them with the pattern’s size chart.
Remember that your body measurements and the finished garment measurements are not always exactly the same. A sweater usually needs some ease, which is the extra room that allows you to move comfortably.
Step 3: Choose the Right Yarn
Yarn choice has a major effect on the final sweater.
For beginners, medium-weight yarn is usually easier to handle than very thin yarn.
Consider:
Yarn Weight
Medium or worsted-weight yarn can be a practical choice for a first sweater because it works up relatively quickly.
Fiber
You can choose from wool, acrylic, cotton, blends, and other fibers.
Acrylic can be affordable and easy to care for, while wool can provide warmth. Cotton is breathable but may behave differently after washing.
Color
Light or medium colors can make stitches easier to see while you are learning.
If you are unsure, follow the yarn recommendation in your chosen pattern.
Step 4: Make a Gauge Swatch
One of the most important steps is making a gauge swatch.
Gauge tells you how many stitches and rows fit into a particular measurement.
For example, a pattern might say:
16 stitches × 12 rows = 4 inches
Your tension may be different from the designer’s tension. If you skip the gauge swatch, your sweater could turn out too large or too small.
How to Adjust Gauge
If your stitches are too large, try a smaller hook.
If your stitches are too small, try a larger hook.
Keep testing until your gauge is reasonably close to the pattern’s recommendation.
Step 5: Start the First Panel
Many beginner sweaters are constructed from simple rectangular or slightly shaped panels.
Depending on the pattern, you may start with the back panel.
Follow the pattern’s instructions carefully and count your stitches regularly.
Do not rush through the first few rows. These rows establish the width of your sweater.
If the pattern says to chain a certain number of stitches, make sure you count them before starting the first row.
Step 6: Crochet the Back Panel
Continue working rows until the back panel reaches the required length.
Keep checking your stitch count.
If your sweater pattern uses double crochet, for example, you may work:
Chain → double crochet across → turn → repeat
The exact instructions will depend on your pattern.
Place a stitch marker at important points if necessary.
If your project begins to become wider or narrower unexpectedly, stop and check your stitch count.
Step 7: Crochet the Front Panel
Once the back panel is complete, make the front panel.
For a very simple sweater, the front and back may be similar.
However, some designs include a neckline or other shaping.
Follow your pattern carefully when you reach the neck and shoulder sections.
Do not assume the front panel is exactly the same as the back unless your pattern says so.
Step 8: Make the Sleeves
Sleeves can be made in several different ways.
Some beginner sweater patterns use simple rectangular sleeves. Others are crocheted from the shoulder downward.
For a first sweater, a simple sleeve construction can make the process easier.
Measure the sleeve as you work to make sure it is close to the required length.
Remember that both sleeves should be approximately the same size.
Step 9: Join the Sweater Pieces
Now comes one of the most exciting parts—putting your sweater together.
Lay the front and back panels flat.
Match the shoulders and sides carefully.
You can join the pieces using:
- A yarn needle
- Slip stitches
- Single crochet
- Another joining method recommended by the pattern
Do not sew too tightly because the seams may become stiff.
Leave the arm openings and neckline open according to your pattern.
Step 10: Add the Neckline
After joining the main pieces, you may need to finish the neckline.
A simple crochet border can make the neckline look cleaner.
Depending on your pattern, you may work one or more rounds of single crochet around the neck opening.
Keep the tension consistent so the neckline does not become too tight or wavy.
Step 11: Finish the Sleeves and Bottom Edge
Many crochet sweaters look more polished after adding a simple border.
You can add a few rounds of single crochet around:
- Sleeve cuffs
- Bottom edge
- Neckline
Some patterns use ribbing or another decorative stitch.
A border can also help stabilize the edges and give the sweater a finished appearance.
Step 12: Weave in the Loose Ends
Once the sweater is assembled, you will probably have several yarn ends.
Use a yarn needle to weave each end securely through the back of the stitches.
Avoid simply cutting the yarn close to the sweater because the end may come loose after washing or wearing.
Take your time with this step. Clean finishing can make a handmade sweater look much more professional.
Step 13: Check the Fit
Before washing or blocking your sweater, try it on carefully.
Check:
- Shoulder fit
- Sleeve length
- Body length
- Neck opening
- Overall width
- Comfort when moving your arms
If something feels slightly different from what you expected, do not panic.
Small differences can sometimes be corrected with blocking or a simple adjustment.
Step 14: Block Your Sweater
Blocking can help improve the shape and appearance of a crochet sweater.
The exact method depends on the yarn fiber.
Generally, blocking involves gently shaping the crochet fabric to the desired measurements and allowing it to dry.
Do not use high heat unless the yarn’s care instructions specifically allow it.
Always check the yarn label before washing or blocking.
Common Mistakes When Crocheting a First Sweater
Beginners often make a few predictable mistakes.
| Mistake | How to Avoid It |
|---|---|
| Skipping gauge | Always make a gauge swatch |
| Wrong size | Compare body measurements with the pattern |
| Lost stitches | Count every row |
| Uneven edges | Check first and last stitches |
| Tight seams | Join pieces without pulling too tightly |
| Wrong yarn | Follow the pattern’s yarn weight |
| Uneven sleeves | Measure both sleeves |
| Poor finishing | Weave in yarn ends securely |
Beginner Tips for a Better Crochet Sweater
Read the Pattern First
Read through the entire pattern before starting. This helps you understand the construction.
Take Your Time
A sweater is a larger project than a coaster or granny square. There is no need to rush.
Count Regularly
Counting your stitches can prevent major problems later.
Use Stitch Markers
Markers can help identify important sections and keep track of shaping.
Take Progress Photos
Taking photos of your work can help you compare the shape as you progress.
Don’t Be Afraid to Undo Stitches
If you notice a mistake, it is usually better to fix it early than continue for several rows.
Frequently Asked Questions
Is crocheting a sweater difficult for beginners?
A simple sweater can be beginner-friendly if you already understand basic crochet stitches and can follow a pattern. Choose a design with simple construction for your first attempt.
How much yarn do I need for a crochet sweater?
The amount depends on the sweater size, yarn weight, stitch pattern, and design. Always check the pattern’s recommended yardage before buying yarn.
What crochet hook size is best for sweaters?
There is no single hook size for every sweater. Medium-weight yarn commonly uses hooks around 5 mm to 6 mm, but always follow your pattern and gauge.
Do I really need to make a gauge swatch?
Yes, especially when making clothing. Gauge can make a major difference in the final size and fit of your sweater.
Can I crochet a sweater without a pattern?
Experienced crocheters can design sweaters themselves, but beginners will usually find a written pattern much easier to follow.
How long does it take to crochet a sweater?
The time varies depending on the pattern, yarn, stitch complexity, size, and your crochet experience. Your first sweater may take several days or weeks.
Final Thoughts
Learning how to crochet your first sweater is an exciting step in your crochet journey. It may look complicated at first, but breaking the project into smaller steps makes it much more manageable.
Start with a simple pattern, choose suitable yarn, measure yourself carefully, and never skip the gauge swatch. Take your time with each panel, count your stitches, and check the fit before finishing.
Your first sweater may not be perfect—and that’s completely okay. Every row gives you more practice and confidence. Once you finish your first handmade sweater, you will have the skills and experience to experiment with more colors, stitches, shapes, and designs.