A crochet tote bag is a practical and stylish project that is perfect for beginners. If you already know a few basic crochet stitches, you can make a useful handmade bag without needing complicated techniques.
Crochet tote bags can be used for shopping, carrying books, visiting the beach, storing craft supplies, or simply adding a handmade touch to your everyday outfit.
In this guide, you will learn how to crochet a tote bag, which materials and stitches to choose, how to create the main body and handles, and how to finish your bag neatly.
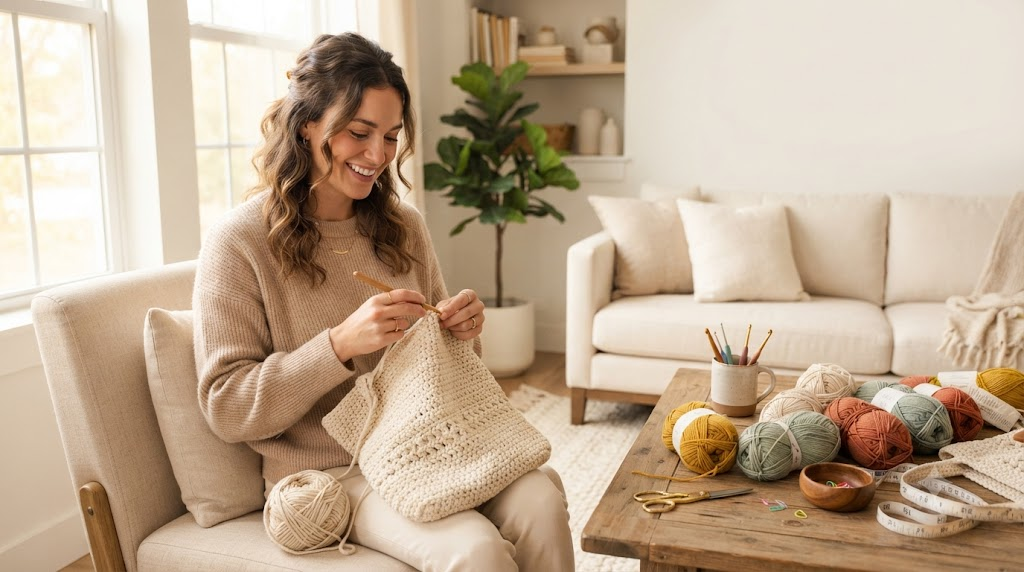
Why Crochet a Tote Bag?
A crochet tote bag is a great beginner project because it is usually made from simple shapes.
Unlike a fitted sweater, a tote bag does not require complicated sizing. You can easily adjust the width, height, and handle length according to your needs.
Some benefits include:
- Easy to customize
- Uses basic crochet stitches
- Great for beginners
- Reusable and practical
- Makes a thoughtful handmade gift
- Perfect for using leftover yarn
You can also experiment with different colors, stripes, granny squares, or textured stitches.
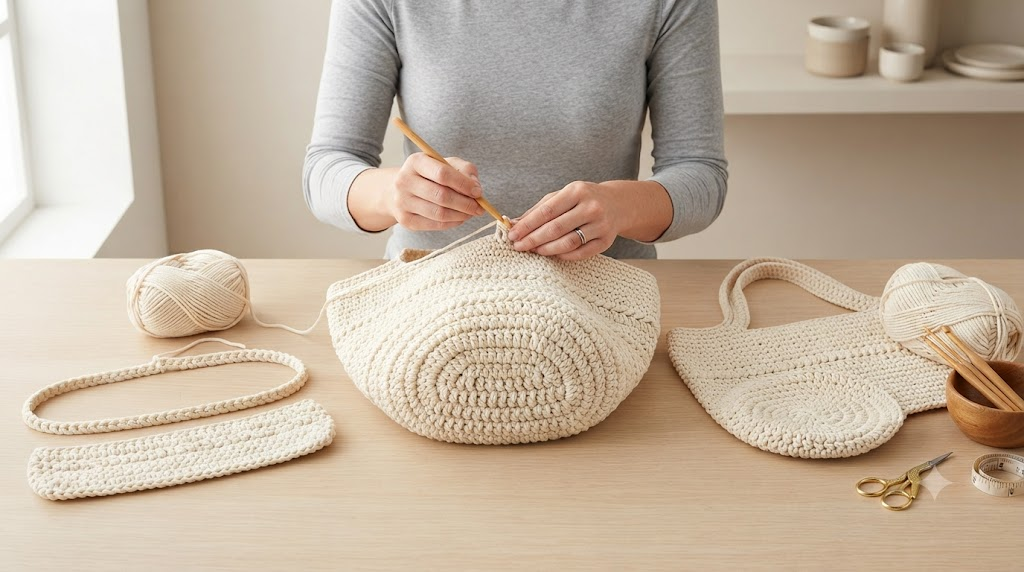
Materials You Need
Before starting your crochet tote bag, gather the following supplies.
| Material | Beginner Recommendation |
|---|---|
| Yarn | Medium or bulky cotton yarn |
| Crochet Hook | 4.5 mm–6 mm |
| Scissors | Sharp craft scissors |
| Yarn Needle | For weaving in ends |
| Stitch Markers | Optional but helpful |
| Measuring Tape | For checking size |
| Bag Lining | Optional |
| Button or Zipper | Optional |
Choose the Right Yarn
For a tote bag, cotton yarn is often a practical choice because it is durable and generally holds its shape well.
You can also use cotton blends or other sturdy yarns.
Avoid very soft, fluffy yarn for your first tote bag because it can make stitches difficult to see.
Medium-weight yarn is usually easier for beginners to handle.
Basic Crochet Stitches for a Tote Bag
You do not need to know dozens of stitches to make a crochet tote bag.
These basic stitches are enough for many beginner designs.
| Abbreviation | Stitch |
|---|---|
| CH | Chain |
| SC | Single Crochet |
| HDC | Half Double Crochet |
| DC | Double Crochet |
| SL ST | Slip Stitch |
| ST | Stitch |
Single Crochet
Single crochet creates a firm fabric, which makes it a good choice for tote bags.
It is especially useful if you want a bag that can hold books or other everyday items.
Half Double Crochet
Half double crochet works up faster than single crochet while still creating a reasonably sturdy fabric.
It can be a good middle ground between a tight and open fabric.
Double Crochet
Double crochet creates a more open and flexible fabric.
It works well for lightweight tote bags, especially when you want a more decorative or breathable design.
Step 1: Decide the Size of Your Tote Bag
Before crocheting, decide how large you want your bag to be.
A small tote might be suitable for a phone, wallet, and small accessories.
A larger tote can hold books, groceries, or craft supplies.
For a simple beginner bag, you could aim for approximately:
12–16 inches wide × 12–14 inches tall
The exact size is completely customizable.
Remember that the finished size will depend on your yarn, hook, stitch, and tension.
Step 2: Make the Foundation Chain
Start by making a foundation chain for the width of the bag.
For example, you could begin with around 30–40 chains, depending on your yarn and desired size.
Do not copy a specific chain number without considering your gauge. The goal is to create a foundation chain that is approximately the width you want.
Keep your chain relaxed rather than pulling it tightly.
Step 3: Crochet the Bottom
There are several ways to construct a tote bag.
For a simple beginner design, you can create a rectangular or oval base and then work upward.
If you want a rectangular bag, crochet rows across the foundation chain.
Work your chosen stitch across the row, then turn and continue.
Keep checking the width as you work.
If you want a seamless bag, another option is to crochet continuously around an oval foundation chain and build the sides upward.
Step 4: Build the Sides
Once your base is the desired size, continue crocheting around the edges to create the sides of the bag.
For a sturdy beginner-friendly tote, single crochet is a great option.
Work each round evenly and check your stitch count regularly.
Continue until your bag reaches your preferred height.
You can make the sides:
- Short for a mini tote
- Medium for an everyday bag
- Tall for a shopping bag
Step 5: Add Color or Texture
Once you understand the basic construction, you can make your tote more interesting.
Try:
- Horizontal stripes
- Two-color designs
- Granny square panels
- Simple textured stitches
- Neutral color combinations
- Bright summer colors
If you change colors, secure your yarn ends properly and weave them into the inside of the bag.
For beginners, simple stripes are an easy way to create a professional-looking design.
Step 6: Make the Handles
The handles are one of the most important parts of a tote bag.
There are several ways to make them.
Crochet Handles
You can crochet a chain for the handle and then work several rows of single crochet over it.
For a stronger handle, make it wider by working more stitches across the chain.
Long Handles
If you want a shoulder bag, make the handles longer.
Short Handles
For a handbag-style tote, use shorter handles.
Before attaching them permanently, place the bag against your body and check the handle length.
Step 7: Attach the Handles
Place the handles evenly on both sides of the bag.
Use stitch markers to hold them in place before sewing.
Make sure both sides are positioned at the same distance from the edges.
Sew the handles securely using a yarn needle and strong yarn.
For a bag that will carry heavier items, reinforce the handle attachment with several passes of stitching.
Step 8: Add a Simple Border
A border can make your tote look cleaner and more finished.
You can crochet one or two rounds of single crochet around the top edge.
Another option is to use a decorative stitch if your pattern recommends one.
Keep your tension consistent so the top edge does not become wavy.
Step 9: Weave in the Ends
Do not forget to secure your loose yarn ends.
Thread each end through a yarn needle and weave it through several stitches on the inside of the bag.
Trim the excess yarn after it is securely woven in.
This small finishing step can make a big difference in the final appearance of your bag.
Step 10: Add a Lining
A lining is optional, but it can make your crochet tote stronger and more practical.
A fabric lining can:
- Prevent small objects from slipping through holes
- Give the bag extra structure
- Protect the crochet fabric
- Create a more polished appearance
You can sew a simple fabric rectangle or purchase a ready-made bag lining.
If you add a lining, make sure it fits comfortably inside the crochet bag.
How to Make a Strong Crochet Tote Bag
If you plan to use your tote regularly, strength is important.
Use Sturdy Yarn
Cotton or cotton-blend yarn is a good starting point.
Choose a Firm Stitch
Single crochet creates a denser fabric than many open stitches.
Reinforce the Handles
The handles carry most of the weight, so attach them securely.
Avoid Overloading
Even a strong crochet tote can stretch if it is filled with very heavy items.
Common Crochet Tote Bag Mistakes
| Problem | Possible Cause | Solution |
|---|---|---|
| Bag is too small | Tight tension | Use a larger hook or more stitches |
| Bag is too large | Loose tension | Use a smaller hook |
| Uneven sides | Missed stitches | Count stitches regularly |
| Handles stretch | Weak attachment | Reinforce handle areas |
| Bag looks floppy | Loose stitch | Try a firmer stitch |
| Top edge is wavy | Uneven tension | Check stitch count |
| Shape is uneven | Incorrect base | Measure the base carefully |
Tips for Beginners
Count Your Stitches
Counting stitches regularly can prevent your bag from becoming wider or narrower.
Check Your Measurements
Measure the bag as you work rather than waiting until the end.
Keep Your Tension Consistent
Try to maintain the same grip on your yarn throughout the project.
Use Stitch Markers
Markers can help identify the beginning of rounds and handle placement.
Make a Small Swatch
If you are unsure how the yarn and hook will work together, make a small sample first.
How to Care for Your Crochet Tote Bag
Always check the yarn label before washing your finished bag.
Many cotton crochet bags can be gently hand-washed, but the correct care method depends on the yarn fiber.
Avoid using high heat unless the yarn specifically allows it.
After washing, reshape the bag and allow it to dry completely.
Frequently Asked Questions
What is the best yarn for a crochet tote bag?
Cotton yarn is a popular choice because it is durable and tends to hold its shape well. Cotton blends can also work nicely.
What crochet stitch is best for tote bags?
Single crochet is a good beginner choice because it creates a relatively firm fabric. Half double crochet and double crochet can also be used depending on the desired look.
How long does it take to crochet a tote bag?
A simple tote may take a few hours to several days depending on your experience, pattern, size, and stitch complexity.
Can a beginner crochet a tote bag?
Yes. A basic tote bag is an excellent beginner project because the construction can be simple and repetitive.
Why is my crochet bag stretching?
Stretching can happen because of loose stitches, soft yarn, or heavy contents. Using sturdy yarn, tighter stitches, and a fabric lining can help.
Should I add a lining to my crochet tote?
A lining is optional. It can make the bag stronger, prevent small objects from falling through, and give the finished tote a more structured appearance.
Final Thoughts
Learning how to crochet a tote bag is a fun way to turn basic crochet skills into something useful for everyday life.
Start with a simple design, choose sturdy yarn, and practice with basic stitches such as single crochet or half double crochet. Pay special attention to the base, stitch count, handles, and finishing.
Once you complete your first tote, you can experiment with different colors, granny squares, stripes, textures, and decorative borders.
Most importantly, take your time and enjoy the process. Your handmade crochet tote does not have to be perfect—it just needs to be something you are proud to use.